
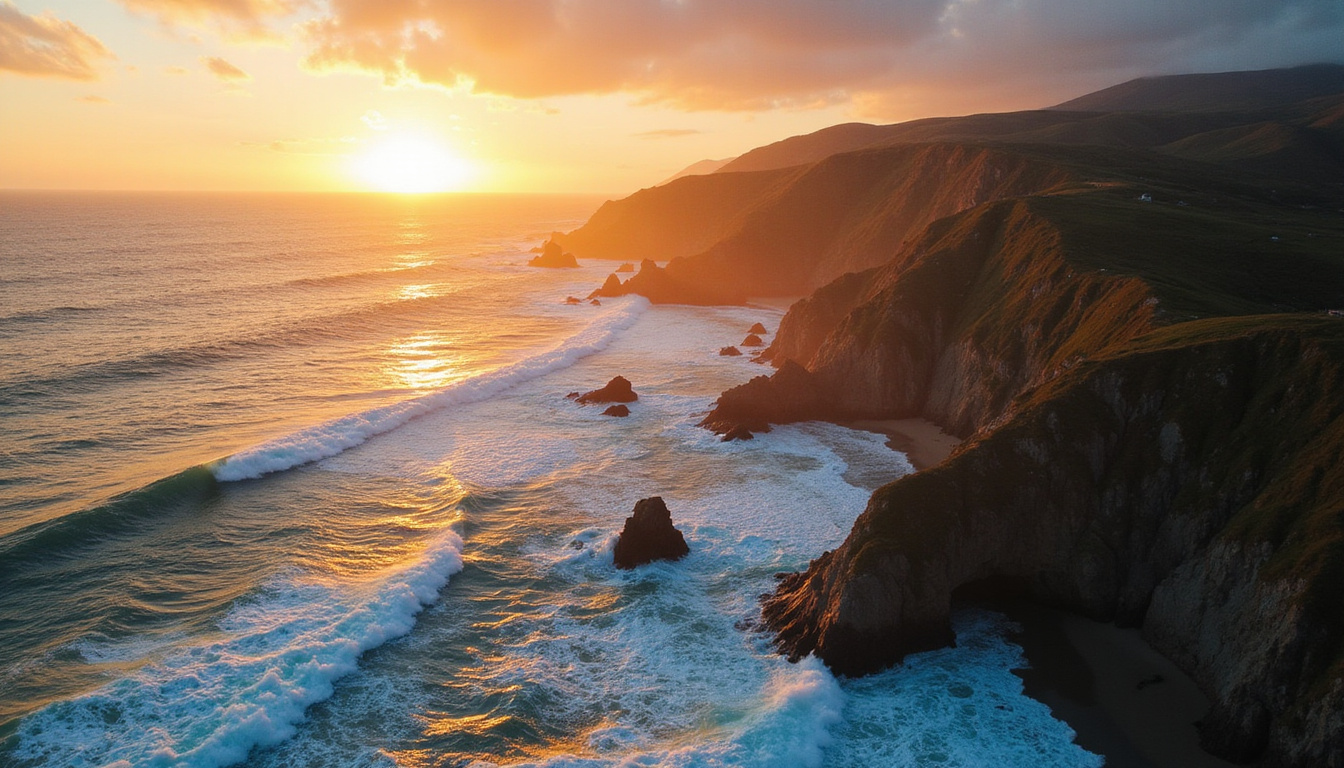
Drone photography has transformed the way we see the world, allowing anyone to capture sweeping landscapes, architectural patterns, and cinematic videos from above. Whether you’re shooting Egypt’s coastal resorts, desert vistas, or bustling cityscapes, learning the fundamentals of drone photography will help you move from casual snapshots to professional-quality aerial images.
Below you’ll find practical, people-first guidance on choosing gear, planning flights, composing better images, and staying safe and legal in the sky.
1. Understand the Basics of Drone Photography
Before you send your drone into the air, it helps to treat drone photography like any other form of photography—just with a different vantage point.
Key concepts still apply:
- Exposure: Balance shutter speed, ISO, and (if available) aperture.
- Focus: Most drones use fixed-focus, but you still need to tap-to-focus on your subject.
- White balance: Set it manually when possible to avoid inconsistent colors between shots.
- File format: Shoot RAW (DNG) plus JPEG if your drone allows it; RAW gives far more editing flexibility.
Approach your drone flights with a photographer’s mindset: think about light, composition, and storytelling—not just height.
2. Choose the Right Drone for Your Needs
Not every drone is right for every photographer. Your choice affects image quality, flight time, and how easily you can travel with it.
Key considerations
Camera quality
- At least a 1/2" sensor for casual shooters.
- 1" or larger sensor for low light, sunsets, and professional work.
- 4K video is a must if you plan to capture high-quality footage.
Portability
- Foldable drones are ideal for travel and urban exploration.
- Larger drones handle wind better and often have better cameras, but are less discreet.
Flight time and range
- Aim for at least 25–30 minutes of real-world flight time.
- Extra batteries are essential for serious drone photography sessions.
Safety and obstacle avoidance
- Multi-directional obstacle sensors greatly reduce the risk of collisions.
- Consider this critical if you’ll fly around buildings, cliffs, or trees.
Investing in a solid, camera-focused drone pays off immediately in sharper images, better dynamic range, and more consistent results.
3. Know the Rules: Fly Legal and Safe
Regulations for drone photography vary by country and sometimes by city or region. You must understand what’s legal before you fly—especially if you’re near historical sites, airports, or dense urban areas.
General best practices (always check local laws)
- Register your drone if required in your country.
- Stay below the maximum altitude limit (often 120 m / 400 ft).
- Keep line-of-sight: always be able to see your drone.
- Avoid restricted zones: airports, military areas, sensitive infrastructure, and sometimes national parks.
- Respect privacy: don’t fly directly over people’s homes or private spaces without permission.
- Carry insurance if possible: accidents do happen.
For up-to-date safety and regulatory information, see the International Civil Aviation Organization’s unmanned aviation guidance (source) and then check your national aviation authority’s website.
4. Plan Your Drone Shots Like a Storyboard
The best drone photography doesn’t happen by accident. A bit of planning dramatically improves your success.
Scouting locations
- Use Google Maps / Earth to find interesting geometry: rivers, roads, farmland, coastlines, and architectural patterns.
- Check sun position with apps like PhotoPills or Sun Surveyor to time golden hour or blue hour flights.
- Walk the area before flying: look for power lines, antennas, birds, and wind conditions.
Pre-flight checklist
- Batteries: fully charged (drone, controller, phone).
- Propellers: undamaged and securely attached.
- Lens: clean, ND filter ready if needed.
- Compass and IMU: calibrated if the app recommends it.
- Return-to-home altitude: set high enough to clear nearby obstacles.
Thinking like a director—planning your angles and movements—will turn random flights into cohesive visual stories.
5. Master Composition from the Sky
Composition is where drone photography can really shine. The aerial perspective reveals patterns we never see at ground level.
Classic aerial compositions that work
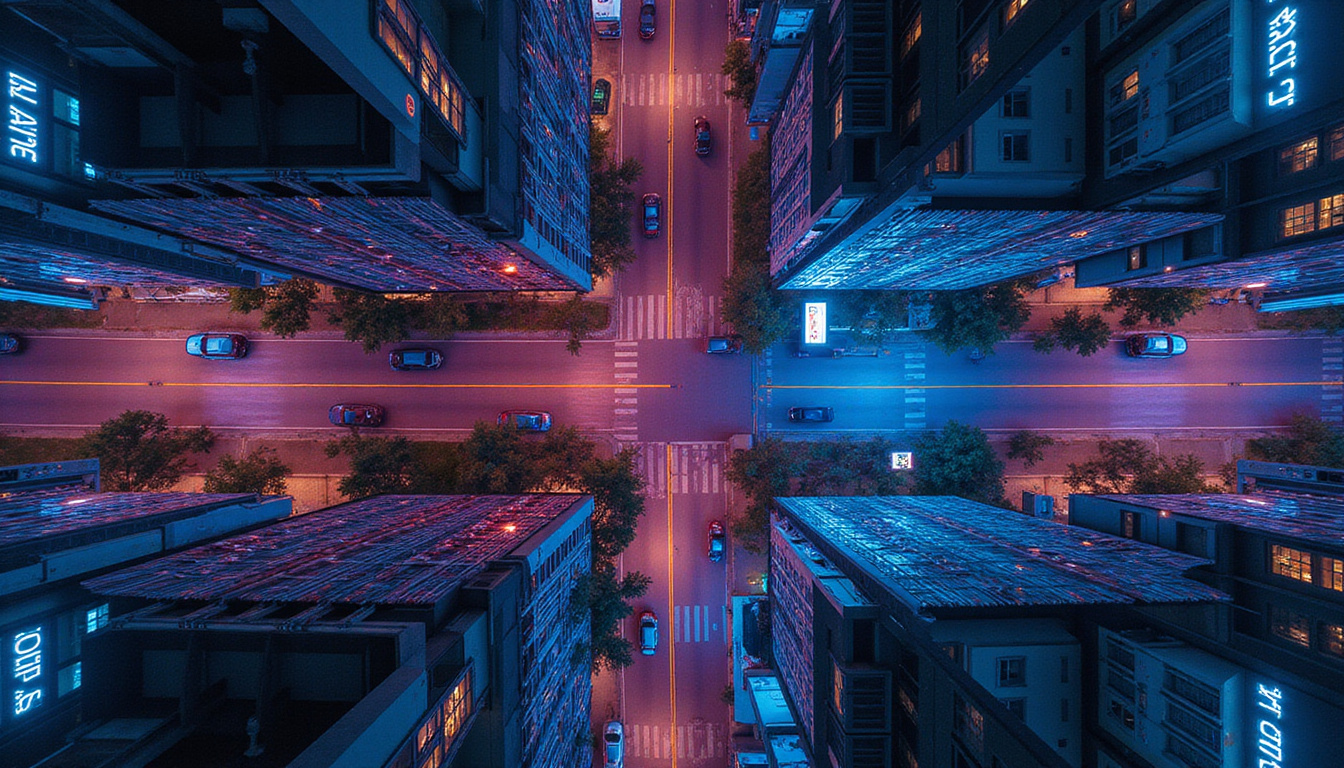
Top-down (nadir) shots
- The camera points straight down, flattening the scene.
- Perfect for capturing symmetry: roads, crop fields, courtyards, pools, and plazas.
- Look for leading lines and geometric shapes.
Leading lines
- Roads, rivers, coastlines, and dunes create strong lines that guide the viewer’s eye.
- Position the line diagonally across the frame for more dynamic energy.
Rule of thirds
- Place horizons, coastlines, or city skylines on the top or bottom third.
- Position key subjects (a boat, a person, a building) near the intersection points.
Scale with a subject
- Include a human, car, boat, or camel (in desert scenes) to convey scale.
- This is especially powerful in vast landscapes or dunes.
Patterns and repetition
- Look for repeating rows of palm trees, umbrellas on a beach, windows on a building, or farm plots.
- Break the pattern with one contrasting element for impact.
Move intentionally, stop, and compose carefully instead of constantly flying around shooting randomly.
6. Use Light to Your Advantage
Light is everything in photography, and drone photography is no exception.
Best times to fly
- Golden hour (sunrise/sunset)
- Soft, warm light adds depth and texture.
- Long shadows emphasize patterns in sand, rock, architecture, and fields.
- Blue hour (just before sunrise/after sunset)
- Ideal for cityscapes with glowing lights and rich blue skies.
- Midday
- Harsh, but excellent for high-contrast top-down shots of water, architecture, and strong shadows.
- Overcast days soften shadows and are forgiving for beginners.
Always watch your shadow: it can become a distracting element in water or flat surfaces if the sun is behind your drone.
7. Dial In the Right Camera Settings
Most consumer drones share similar camera options. Manual control gives you consistent, professional results.
Photo settings
- Mode: Manual (M) or Shutter Priority (S)
- Shutter speed:
- For still photos, start around 1/200–1/500 sec to avoid motion blur from drone movement.
- ISO:
- Keep as low as possible (100–400) to minimize noise.
- White balance:
- Set to a fixed preset (Sunny, Cloudy) or use Kelvin, rather than Auto.
- File format:
- RAW + JPEG for maximum flexibility.
Video settings (if you’re also filming)
- Set frame rate (e.g., 24/25/30 fps) and use the 180-degree rule: shutter ≈ 2x frame rate.
- Use ND filters to maintain a slower shutter speed in bright conditions.
- Choose a flat color profile (D-Cinelike, D-Log) if you’re comfortable with color grading.
The goal is control. Automatic mode can work, but it often changes exposure mid-shot, which looks unprofessional.
8. Fly Smoothly: Pilot Skills for Cinematic Shots
Great drone photography comes partly from how you fly, not just where you point the camera.
Practice these movements
Slow ascend/descend with gentle yaw
Create a reveal shot by rising while slowly rotating the drone.Sideways tracking
Fly laterally while keeping your subject centered—ideal for following coastlines, roads, or buildings.Orbit (circle) around a subject
Many drones have an automated “point of interest” mode that can do this smoothly for you.Dolly in/out
Fly forward or backward toward a subject while adjusting the gimbal to maintain framing.
Use Tripod or Cine mode for slower, smoother movements. Avoid abrupt stick inputs; treat the controls like a camera slider, not a video game.
For an honest perspective on what it’s like to fly and live with a drone in a new environment, watch:
“Things I Wish I Knew Before Moving to Egypt – My Honest Experience”
While not strictly about drones, videos like this help you understand local conditions, crowds, and practical realities before flying in a new country.
9. Edit Your Drone Photos for Maximum Impact
Shooting is only half the process. Thoughtful editing turns a good aerial shot into something memorable.
Basic editing workflow
- Crop and straighten
- Level the horizon and refine your composition.
- Exposure and contrast
- Lift shadows, slightly reduce highlights, and adjust overall brightness.
- White balance
- Correct any color cast; adjust warmth to taste.
- Clarity and texture
- Use lightly; too much can make landscapes look fake.
- Vibrance over saturation
- Vibrance boosts muted colors while protecting skin tones and avoiding neon skies.
- Lens corrections
- Enable profile corrections to reduce distortion and vignetting.
For drone photography, be careful not to over-edit. The aerial perspective is already striking; subtle adjustments usually look more natural and professional.
10. Common Mistakes to Avoid in Drone Photography
Learning from others’ errors will save you gear, time, and frustration.
- Flying with low battery far from home point.
- Ignoring strong winds, especially at higher altitudes.
- Forgetting to format the memory card before a shoot.
- Flying too fast, leading to blurry photos and jerky video.
- Relying completely on auto exposure and auto white balance.
- Flying directly over crowds or busy roads (often unsafe and illegal).
- Losing line-of-sight behind buildings or hills.
Treat every flight as if something could go wrong, and you’ll naturally build safer habits.
Quick Checklist for Your Next Drone Photography Session
Use this short list before you fly:
- Batteries charged (drone, controller, phone)
- Memory card formatted and inserted
- Location scouted and legal to fly
- Weather and wind checked
- Return-to-home altitude set
- Camera set to RAW (for photos)
- White balance fixed (not auto)
- Obstacle avoidance enabled
- Emergency landing options identified
FAQ About Drone Photography
1. Is drone photography hard to learn?
Drone photography isn’t inherently difficult, but it combines two skill sets: piloting and photography. If you already understand basic camera settings and composition, you’ll progress quickly. Spend time in open areas practicing takeoffs, landings, and smooth movements before attempting complex shots.
2. What drone is best for aerial photography as a beginner?
For someone starting with aerial photography, look for a compact drone with:
- At least a 1/2" or 1" sensor,
- 4K video,
- Good obstacle avoidance,
and strong beginner-friendly modes. Avoid the cheapest toy drones; they often lack stabilization and deliver disappointing image quality.
3. How much does drone photography cost to get started?
Entry-level drone photography setups typically start at a few hundred dollars for a camera drone, with additional expenses for spare batteries, ND filters, and a carrying case. Professional-grade systems with larger sensors and advanced features can cost significantly more, but for many creators, a mid-range drone is more than enough.
Ready to Take Your Drone Photography to the Next Level?
Drone photography opens up creative possibilities that simply aren’t available from the ground—sweeping coastal views, perfectly symmetrical top-down shots, and dramatic reveals over cities, deserts, and mountains. By combining solid technical settings, thoughtful planning, careful composition, and safe flying practices, you can consistently capture aerial images that look like they came from a professional production.
If you’re serious about aerial images—whether for personal projects, social media, real estate, or travel stories—now is the time to invest in your skills. Choose a reliable drone, learn your local regulations, and start practicing regularly. With each flight, your confidence, safety, and creativity will improve.
Take your drone out on your next sunrise or sunset, apply the tips above, and start building a portfolio of stunning aerial shots that genuinely stand out.