
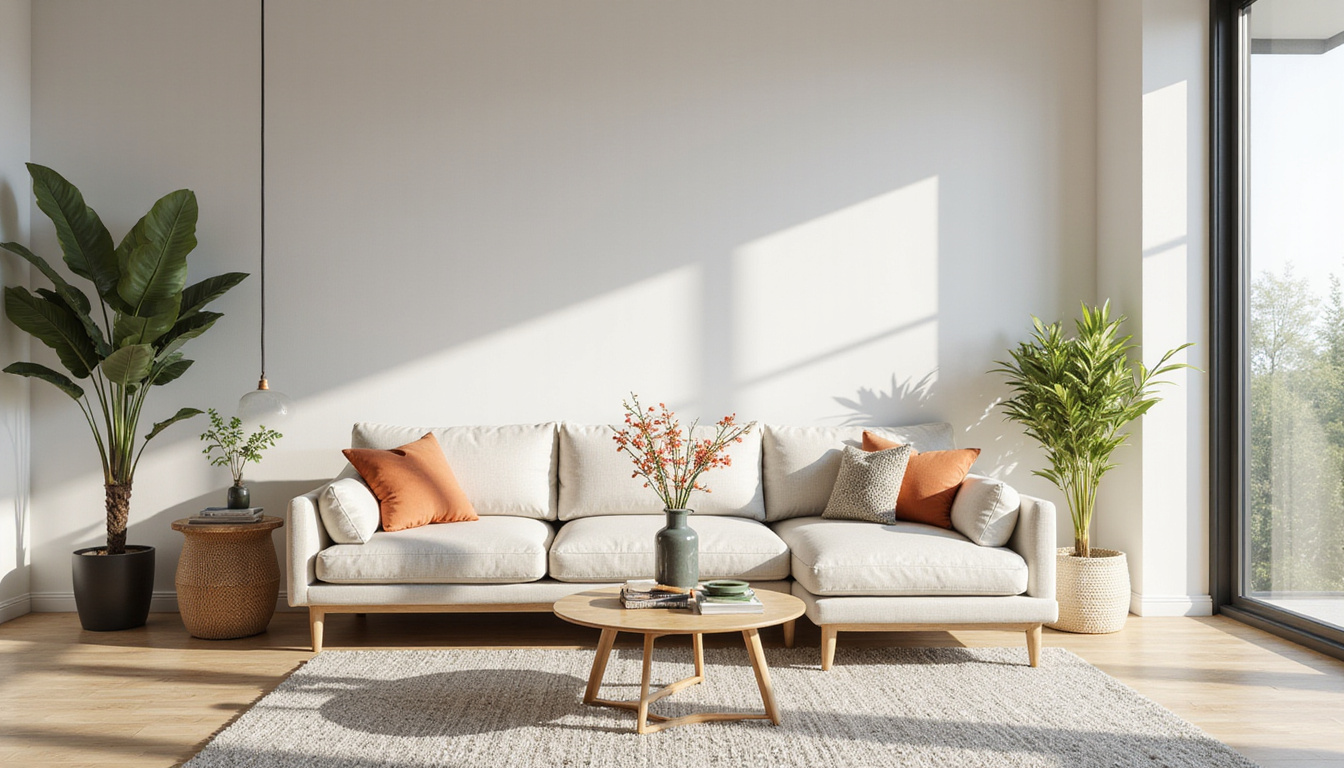
If you want your property to stop scrolling thumbs in their tracks, your listing photos need to do a lot more than just “show the rooms.” Great images are your first—and sometimes only—chance to attract buyers or renters, especially in competitive markets like Egypt’s coastal and city-center property hotspots. With the right staging and photography hacks, you can turn an ordinary flat or villa into an irresistible, click-worthy listing.
Below is a practical, people-first guide that any seller, landlord, or agent can use—no photography degree required.
Why Listing Photos Matter More Than Ever
Online search is now the first step for most real estate journeys. That means your listing photos act as your property’s storefront:
- They determine whether someone clicks into your listing at all.
- They influence perceived value before anyone reads the description.
- They can shorten time on market and improve negotiation power.
Research from real estate professionals consistently shows that well-shot, well-staged photos correlate with more views, more showings, and stronger offers (source: NAR). Buyers form emotional impressions rapidly—often within seconds—based almost entirely on visuals.
Rule #1: Stage Before You Shoot
The biggest mistake sellers make is taking listing photos of a space “as is.” Good photography can’t fix bad staging. Clean, neutral, and slightly aspirational is the goal.
Declutter with Intention
Start by removing anything that distracts the eye:
- Excess furniture that makes rooms look small
- Personal photos, religious items, and political signs
- Loose cables, chargers, remote controls
- Shampoo bottles, toothbrushes, and kitchen sponges
Keep surfaces as clear as possible. Aim for 20–30% less “stuff” than you’d have for normal living. Empty space reads as larger space.
Depersonalize, Don’t Sterilize
You want buyers to imagine their lives in the home. Too many personal items make that harder, but over-stripping can feel cold.
Keep:
- A few tasteful art pieces
- Neutral cushions and throws
- A plant or two
- One statement décor item per main room (a vase, a tray, a lamp)
Remove:
- Family portraits
- Children’s name signs
- Highly specific collectibles
The result: inviting but not overly customized.
Staging Each Key Room for Maximum Impact
Different spaces need different visual strategies in your listing photos.
Living Room: Your Hero Shot
This is usually the first interior photo buyers see. Make it count.
- Anchor the room with the sofa facing into the space, not blocking walkways.
- Create a focal point: TV wall, artwork, or balcony view.
- Balance the layout: two or three main furniture pieces and one accent chair.
- Use symmetry when possible (matching lamps, cushions, chairs).
If you have a balcony, terrace, or Nile/sea view, make sure at least one hero photo emphasizes the connection between living area and outdoors.
Kitchen: Clean, Bright, Functional
Kitchens sell homes. In photos, they must look spotless and efficient.
- Clear countertops except for 2–3 curated items: a bowl of citrus, a coffee machine, a wooden cutting board.
- Hide dish racks, trash bins, and cleaning products.
- Align chairs and barstools perfectly.
- Make sure cabinet doors and drawers are fully closed and aligned.
If cabinets are dated, small updates like new handles or a fresh coat of neutral paint can transform your listing photos at low cost.
Bedrooms: Calm, Hotel-Like Comfort
Think simple, relaxing, and cozy.
- Use plain or subtly patterned bedding in light, neutral colors.
- Add 2–4 pillows for a plush, hotel feel.
- Clear nightstands except for a lamp and one small item (book, plant, candle).
- Remove clothes from visible areas; close wardrobes completely.
If space is tight, use smaller bedside tables rather than cramming in bulky furniture that makes the room feel cramped in photos.
Bathrooms: Spa, Not Storage
Bathrooms reveal how well a property is maintained.
- Remove all personal items from counters and shower areas.
- Use fresh, neatly folded white or light-colored towels.
- Close toilet lids.
- Ensure mirrors and glass are spotless (check for streaks in test photos).
- Add one small accessory: a plant, soap dispenser, or tray.
Good bathroom listing photos convey cleanliness above all else.
Outdoor Areas: Lifestyle Selling
In Egypt and similar climates, balconies, gardens, and rooftops are premium selling points.
- Stage with simple, clean outdoor furniture.
- Add cushions and maybe one plant or lantern for atmosphere.
- Sweep floors and remove any laundry, cleaning tools, or storage items.
- If you have a view (city, Nile, sea, greenery), frame it intentionally in at least one photo.
These shots often clinch emotional decisions for buyers considering second homes or rental investments.
Lighting Hacks: Make Every Room Look Its Best
Lighting can make or break your listing photos more than the camera itself.
Shoot at the Right Time of Day
Natural light is your best friend. Generally:
- North-facing rooms: late morning to early afternoon
- South-facing rooms: mid to late afternoon
- West-facing rooms: golden hour (late afternoon)
- East-facing rooms: mid-morning
Avoid harsh midday light streaming directly into the lens; it can blow out windows and darken interiors.
Turn Lights On (Most of the Time)
In many apartments—especially older or narrow layouts—natural light alone isn’t enough.
- Turn on overhead lights and lamps.
- Use warm bulbs, not cold blue ones, for a cozy feel.
- Replace any burnt-out bulbs so the brightness is consistent.
Combine natural and artificial light, but watch for mixed color temperatures. If possible, use similar “warmth” across all fixtures.
Avoid These Common Lighting Mistakes
- Shooting at night: rooms will look smaller and less inviting.
- Standing directly under a ceiling light: creates harsh shadows and glare.
- Shooting into very bright windows without adjusting angle: leads to silhouetted furniture.
Test a few shots from different positions and check how light falls across furniture and walls.
Composition: Simple Tricks for Professional-Looking Photos
You don’t need expensive gear if you understand how to frame your shots.
Use the Right Height
For interiors, a shooting height of about 1.2–1.5 meters (around countertop height) usually works best. Too high and you emphasize floors; too low and furniture looks distorted.
Shoot from Corners and Doorways
Shooting from a corner or just outside the doorway:
- Makes rooms look larger.
- Shows more of the layout in a single photo.
- Reduces distortion compared with standing in the center.
Avoid pressing against the wall so much that you tilt the camera—keep it level.
Include the Floor and Ceiling (But Not Too Much)
Showing some floor and some ceiling gives a sense of space and avoids that “cropped” feeling. A good balance is:
- Roughly one-third floor, two-thirds room
- Or half floor, half room, depending on what you want to highlight
Check that you’re not cutting furniture in awkward places (like halfway through a sofa arm).
Horizontal, Not Vertical
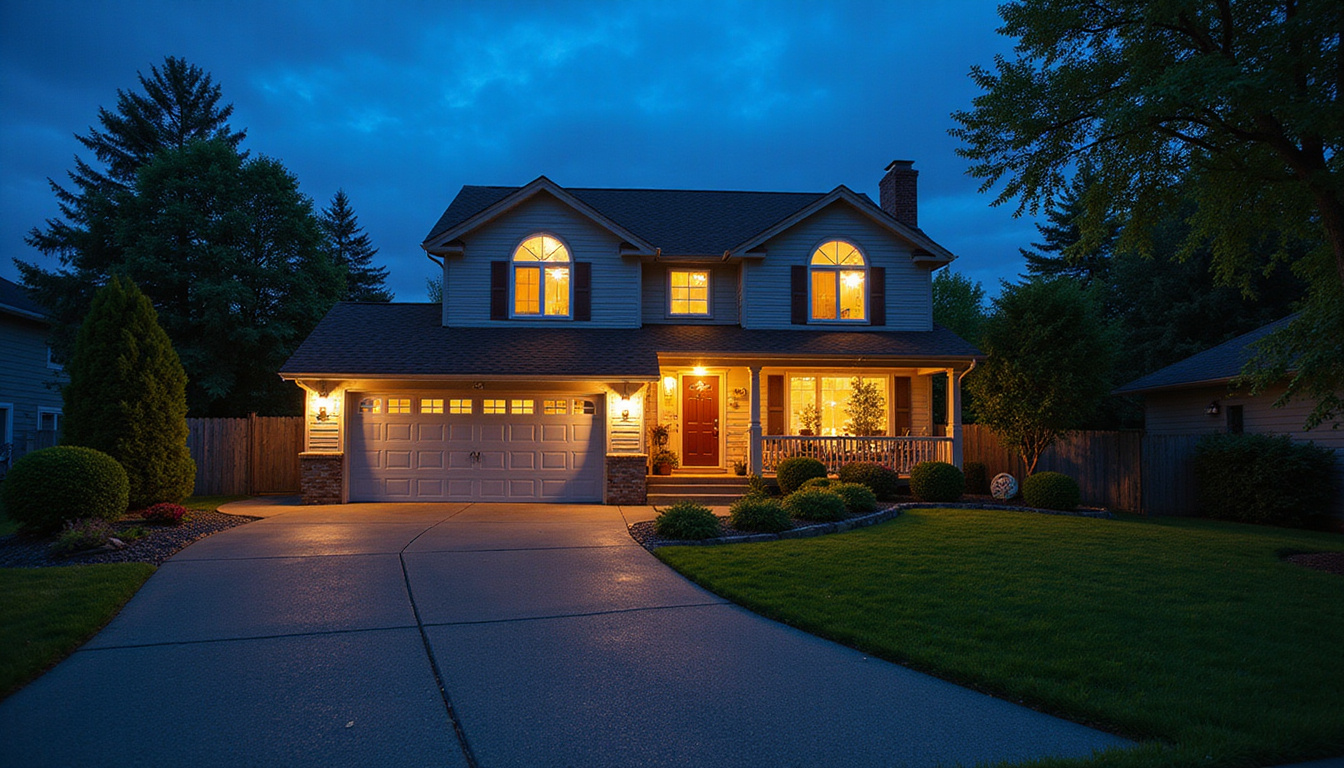
Take almost all listing photos in landscape (horizontal) orientation. Portals and property sites usually display horizontal images better. Use vertical shots only for:
- Tall features like staircases
- Narrow balcony views with a dramatic skyline
Phone vs. Camera: What You Actually Need
Most modern smartphones can produce solid listing photos if you use them well.
Tips for Smartphone Photography
- Turn on the grid and use straight lines to keep walls vertical.
- Avoid using the ultra-wide lens for every shot; it can distort reality and disappoint visitors.
- Don’t use digital zoom; step closer instead.
- Clean your lens before every session.
If you have access to a DSLR or mirrorless camera with a wide-angle lens (around 16–24mm full-frame equivalent), you’ll get more flexibility, but it’s not mandatory for good results.
Editing: Enhance, Don’t Mislead
Basic editing can dramatically improve your listing photos, but be honest.
What You Should Adjust
- Brightness and contrast: bring out details in dark corners.
- White balance: make colors look natural, not too yellow or blue.
- Straighten and crop: correct slanted walls and remove distractions at edges.
- Slight sharpening: to make details pop, especially on phone photos.
What to Avoid
- Over-saturating colors to the point they look fake.
- Removing permanent flaws (cracks, stains) that buyers will see in person.
- Adding fake views from windows or sky replacements that misrepresent reality.
Your edits should reflect the best true version of your property.
Order and Selection: Curating Your Photo Set
You don’t need 50 images. You need the right 15–25. ### Prioritize These Angles
Use this checklist for a typical listing:
- Exterior building or entrance (if attractive)
- Living room – 2–3 angles
- Kitchen – 2–3 angles
- Primary bedroom – 2 angles
- Additional bedrooms – 1–2 each
- Bathrooms – 1–2 each
- Balcony/terrace/garden – 2–3 angles
- Best view or unique feature shot (pool, rooftop, etc.)
- Hallways or layout shot that shows flow (optional but helpful)
Arrange Photos Strategically
Lead with:
- One strong exterior or view shot (if applicable)
- Then the main living area
- Then kitchen
- Then primary bedroom
- Then secondary spaces
People form impressions early; you want them hooked before they get to smaller bedrooms or less exciting areas.
Consider Professional Help (Especially for Premium Properties)
If you’re selling a high-value property, off-plan investment, or luxury home, professional photography and staging can be a smart investment:
- Better photos often translate into higher perceived value.
- Strong visuals are crucial if you’re targeting international buyers who rely heavily on online impressions.
- For rental properties, standout photos can boost occupancy and nightly rates.
To understand day-to-day life and expectations from an expat’s perspective—which can influence how you stage and photograph for foreign buyers—this video is an insightful watch:
Quick Staging and Photography Checklist
Before you take your listing photos, run through this list:
- [ ] All rooms decluttered and depersonalized
- [ ] Surfaces cleared (kitchen, bathroom, tables)
- [ ] Beds made hotel-style with neutral bedding
- [ ] Towels fresh and neatly displayed
- [ ] Balcony/garden cleared and staged
- [ ] All lights working and turned on
- [ ] Curtains/blinds adjusted for best light
- [ ] Mirrors, glass, and floors cleaned
- [ ] Personal items (photos, toiletries, laundry) removed
- [ ] Rooms shot from corners/doorways at chest height
- [ ] Photos reviewed and lightly edited for brightness and color
FAQ About Listing Photos
How many listing photos should I use for a property?
Most property experts recommend 15–25 listing photos for an average-sized home or apartment. Use enough images to show every main room and important detail, but avoid overwhelming buyers with repetitive angles or low-quality shots.
What are the best listing photos to include first?
Lead with your strongest features. Typically, the first real estate listing photos should show the exterior or view (if attractive), followed by the living room, kitchen, and primary bedroom. Put smaller bedrooms, storage, and secondary spaces later in the sequence.
Do professional listing photography services really make a difference?
For high-value or competitive markets, professional listing photography can significantly improve click-through rates and perceived value. Pros know how to manage lighting, composition, and editing to highlight the best aspects of a property while keeping images honest.
Turn Your Listing Photos into a Selling Advantage
Buyers today make decisions in seconds—often based entirely on what they see on their screens. Thoughtful staging, smart lighting, and intentional composition turn ordinary rooms into powerful marketing tools. Whether you’re selling a cozy Cairo apartment, a family villa in New Cairo or 6th of October, or a holiday home on the Red Sea, upgrading your listing photos is one of the fastest, highest-ROI improvements you can make.
If you’re preparing to list a property soon, start with a staging and photo plan—not just a price. Take a day to implement the hacks above, or bring in a professional team to handle everything from styling to editing. The result: more views, more showings, stronger offers, and a faster, smoother sale.