If you’re preparing to sell, property staging can be the difference between a slow, nerve‑wracking listing and a fast sale at a price you’re proud of. Thoughtful staging helps buyers see your house as their future home, not just another property on the market. With a few strategic changes, you can highlight your home’s strengths, downplay its weaknesses, and stand out in any market.
Below, you’ll find practical, budget‑friendly property staging tips that work whether you’re selling in a busy city or a quieter suburb—and whether your home is vacant, occupied, or somewhere in between.
What Is Property Staging and Why Does It Matter?
Property staging is the art of preparing your home so it appeals to the widest possible pool of buyers. It goes beyond simple cleaning or decorating. Staging focuses on:
- Creating a strong first impression
- Helping buyers picture themselves living there
- Guiding the eye to key features and away from flaws
Multiple real estate studies show that well‑staged homes typically sell faster and for more money than non‑staged homes (source: National Association of Realtors). Staged properties photograph better, rank higher in online interest, and often receive more in‑person viewings, which all feed into better offers.
Step 1: Start with a Strategic Declutter
The foundation of successful property staging is decluttering. Buyers need to see space, not stuff.
Focus on:
- Flat surfaces – Clear off kitchen counters, bathroom vanities, desks, and dressers. Leave only one or two attractive items (a plant, a bowl of fruit, a lamp).
- Floors and walkways – Remove extra rugs, pet beds, shoe racks, and toys that interrupt the flow.
- Storage spaces – Buyers will open closets and cabinets. Aim for them to be 50–70% full at most, to signal generous storage.
A simple rule: if the item doesn’t serve a clear purpose in your listing photos or a showing, pack it away. Think of this as your head start on moving.
Step 2: Depersonalize Without Making It Lifeless
Depersonalizing helps buyers imagine their own lives in the space instead of feeling like guests in your home.
Do:
- Remove family photos, children’s artwork, and name plaques
- Put away highly personal collections or memorabilia
- Neutralize bold or potentially divisive decor (political posters, very niche art)
But don’t strip all personality. A warm throw, a few coffee table books, a neutral piece of art, and a plant or two keep the home feeling welcoming and lived in—but not “owned.”
Step 3: Deep Clean for a “Move‑In Ready” Feel
No amount of clever property staging can cover for dirt or odors. A spotless home sends a powerful message: this property is well cared‑for.
Pay special attention to:
- Kitchen: oven, stovetop, backsplash, grout, cabinet fronts, sink and faucet
- Bathrooms: shower glass, tile and grout, toilets, mirrors, faucets, exhaust fans
- Floors: vacuum, mop, and steam clean carpets if needed
- Windows: clean inside and out where reachable—natural light sells homes
- Odors: eliminate sources (trash, pet areas), then ventilate and use subtle fresh scents
If time is short, a professional deep clean before photos and initial showings is often money well spent.
Step 4: Improve Curb Appeal – Staging Starts Outside
Buyers form an opinion in the first 5–10 seconds. That means property staging begins at the curb.
Simple exterior upgrades:
- Mow the lawn and trim hedges
- Weed garden beds and add fresh mulch
- Place a potted plant or two by the entry
- Repaint or clean the front door and polish hardware
- Replace tired doormats and burned-out bulbs
- Ensure the house number is clean and visible
If you’re in an apartment or condo, focus on a clean door, tidy entryway, and any balcony or terrace space you have.
Step 5: Use Light and Color to Your Advantage
Light and color shape how large, fresh, and inviting your home feels.
Maximize natural light:
- Open curtains and blinds fully for showings and photos
- Remove heavy drapes that block light
- Clean windows and window sills thoroughly
Upgrade artificial lighting:
- Replace dim bulbs with brighter, warm‑white options
- Add floor or table lamps to dark corners
- Use consistent color temperature throughout common areas
Refresh with neutral color:
If your walls are very bold or dated, consider painting key rooms (living room, main bedroom, kitchen) in light, neutral shades—soft white, light beige, or a warm gray. These colors photograph well and appeal to most buyers.
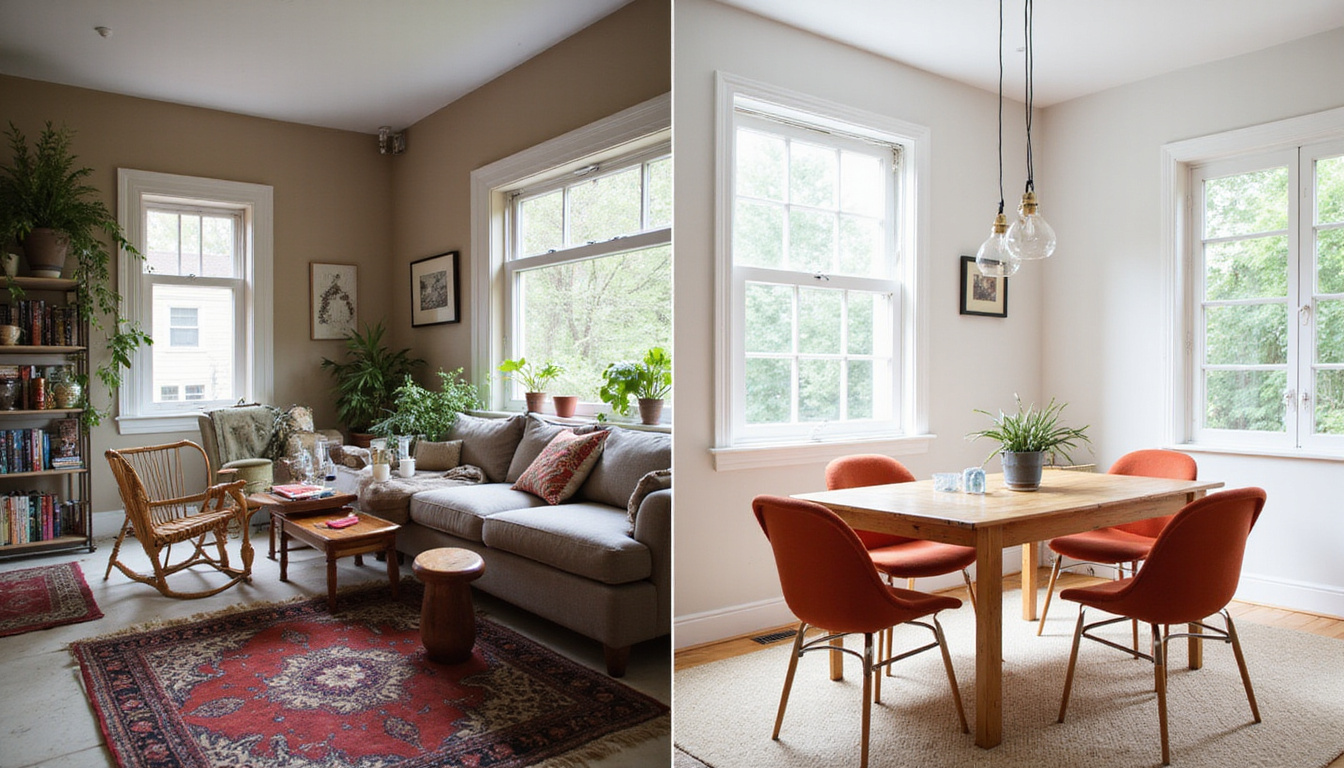
Step 6: Arrange Furniture to Highlight Space and Flow
Furniture placement is one of the strongest tools in property staging. Your goal is to show openness, flow, and clear function for each room.
Guidelines:
- Remove excess pieces – Too many chairs, side tables, or bulky items make rooms feel small. Keep only what you need to define the space.
- Float furniture – Sofas and chairs a few inches from the wall can actually make a room feel larger and more intentional.
- Create conversation areas – In living rooms, orient seating around a focal point: fireplace, TV wall, or window.
- Define room purpose – Every room should have a clear function: office, bedroom, reading nook, dining area. Ambiguous spaces confuse buyers.
In small homes, consider using smaller‑scale furniture or multifunctional pieces (e.g., a dining table that can also act as a workspace).
Step 7: Elevate Kitchens and Bathrooms—Your Power Rooms
Kitchens and bathrooms heavily influence buyer decisions. Even without a full renovation, targeted staging can transform how buyers feel about these spaces.
Kitchen staging tips:
- Clear counters except for 2–3 items (coffee maker, bowl of fruit, a plant)
- Hide trash cans, dish racks, and cleaning products
- Replace old dish towels with new, neutral ones
- Update cabinet hardware if it’s very dated
- Consider inexpensive upgrades like a modern faucet or lighting
Bathroom staging tips:
- Remove all personal items from surfaces and shower (toothbrushes, shampoo bottles)
- Use fresh white or neutral towels and a simple shower curtain
- Add a small plant or candle for a spa‑like touch
- Ensure caulk and grout are clean and in good condition
Even modest updates send a strong “move‑in ready” signal.
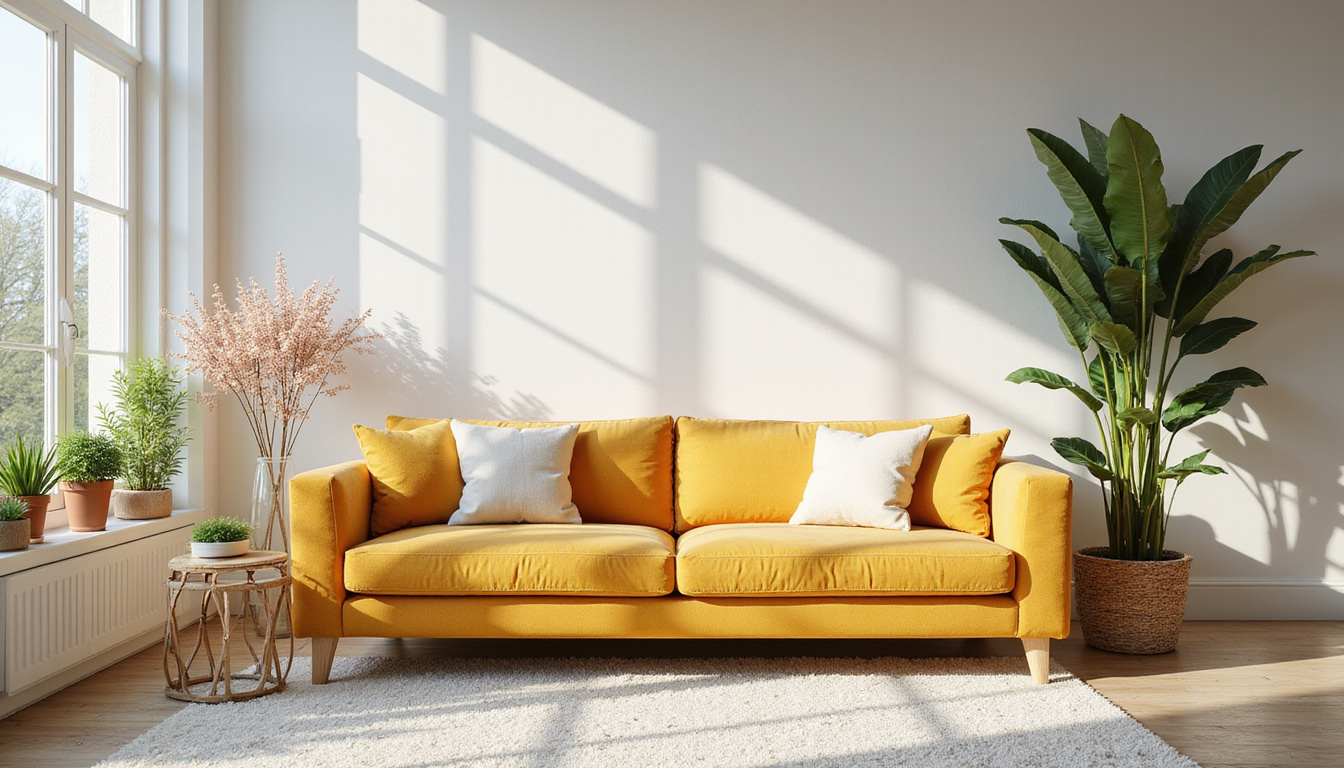
Step 8: Add Simple, High‑Impact Styling Touches
Once the big items (clutter, cleaning, repairs) are handled, styling creates emotional appeal.
Consider:
- A neutral throw blanket and a couple of coordinating pillows on the sofa
- A simple centerpiece on the dining table (vase with greenery, bowl of lemons)
- A neatly made bed with layers: sheet, duvet, folded throw, and 2–4 pillows
- A plant or two in living spaces to add life and soften edges
- A tray on a coffee table with a candle, book, and small decorative item
The goal is a lifestyle buyers can aspire to: calm, organized, and welcoming.
Step 9: Stage for Photos First, Then for In‑Person Viewings
Most buyers meet your home online first. Effective property staging prioritizes what the camera sees.
For listing photos:
- Remove items that clutter photos: small rugs, countertop appliances, visible cords
- Check every visible surface in the camera frame
- Open doors to show continuity between spaces where it helps
- Take test shots on your phone to see what stands out
Once photos are done, you can reintroduce a few practical items for daily living, but try to keep the staged look for showings as much as possible.
To get a feel for how staged homes present in real life, many sellers find it helpful to watch other people’s experiences of moving and living in a new place. This video, for example, offers an honest perspective on settling into a new home and environment: [Things I Wish I Knew Before Moving to Egypt – My Honest Experience](
While it’s about relocating, the visual emphasis on clean, organized, inviting spaces overlaps strongly with good staging principles.
Step 10: Don’t Forget Scent, Sound, and Temperature
Buyers don’t just see your property; they experience it.
- Scent: Aim for clean and subtle. Avoid overpowering candles or air fresheners that can make buyers wonder what you’re hiding. Fresh air, a lightly scented cleaner, or a single mild candle is enough.
- Sound: Soft background music can create a calm atmosphere and also mask minor street noise. Keep it low and neutral.
- Temperature: If buyers are too hot or cold, they’ll rush through the viewing. Set a comfortable temperature before showings.
These sensory details reinforce all your visual property staging work.
Property Staging Checklist: Quick Reference
Use this short checklist before photos or showings:
- All rooms cleaned and floors vacuumed/mopped
- Personal photos and overtly personal items removed
- Countertops and surfaces cleared and wiped down
- Beds made neatly with coordinated linens
- Bathroom items stored away; fresh towels hung
- Lights on in all rooms, curtains/blinds open
- Trash emptied; no strong food or pet odors
- Exterior entry swept; plants watered; doormat clean
- Thermostat set to a comfortable temperature
- Background music on low (optional but pleasant)
Should You Hire a Professional Stager?
Whether to bring in a professional depends on:
- Your budget
- The value of your home
- The current market (buyer’s vs. seller’s)
- How much time and skill you have for DIY staging
Professional stagers can provide furniture, accessories, and layout strategies tailored to your home and target buyer. For higher‑value properties or competitive markets, the return on investment can be significant.
If a full service is out of reach, many stagers offer consultations only—they walk through your home and give you a detailed action plan to implement yourself.
FAQs About Property Staging
Q1: Is property staging really necessary in a hot market?
Even in a hot market, property staging helps your home stand out, attracts more interest in a shorter time, and can lead to multiple offers. That competition often translates into stronger pricing and better terms, such as fewer contingencies or a faster closing.
Q2: What’s the difference between home styling and property staging?
Home styling focuses on decorating for your own taste and comfort. Property staging is strategic: it’s about presenting your home to appeal to the largest number of buyers. That often means neutralizing decor, simplifying spaces, and highlighting features that photograph and show well, even if it’s not how you would live every day.
Q3: How much does it cost to stage a house for sale?
Costs vary widely based on region, property size, and whether the home is vacant. DIY home staging can be very affordable, centered on decluttering, cleaning, paint, and a few new accessories. Professional property staging services can range from a one‑time consultation to full furniture rental packages over several months. Many sellers recoup the cost through higher sale prices and faster closings.
Thoughtful property staging turns your home from “lived‑in” to “irresistible” in buyers’ eyes. By decluttering, depersonalizing, deep cleaning, and styling with intention, you position your property to photograph beautifully, show strongly, and compete at the top of its price range. If you’re ready to sell, start implementing these tips room by room—or partner with a local stager or real estate professional who understands your market. A small investment of time and effort now can pay off in a faster sale and a higher final offer, bringing you one step closer to your next chapter.