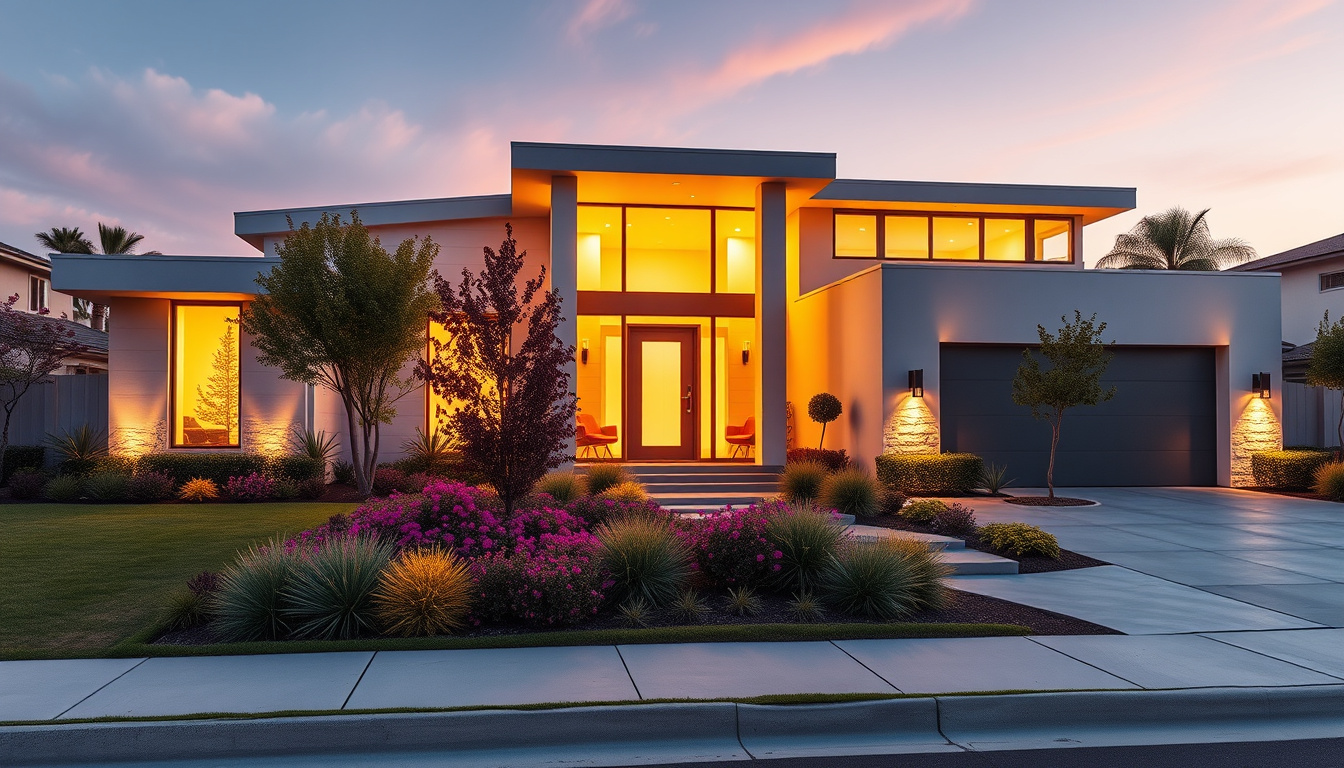
In the competitive world of property sales, real estate photography takes a key role in drawing buyers and making listings visible. Clear images boost interest, speed up sales, and bring in good offers. Real estate agents, property owners, and photographers can use these tips to improve their listings.
In this guide, we show you practical tips for capturing clear images of your properties. These simple ideas help your listing stand out and grab viewers’ attention at first glance.
Why High-Quality Real Estate Photography Matters
Professional real estate photography makes a home stand out or get ignored. Studies find that listings with good photos get about 60% more interest. Clear, bright images let buyers see themselves in the space and stir strong feelings.
This type of photography also helps with:
• Boosting your brand image
• Generating more online views and shares
• Cutting down the time a property sits on the market
• Possibly raising the sale price
Let’s look at clear steps that help you produce sharp images showing your property’s best sides.
Preparing the Property for Photography
Before you start shooting, make sure the property shows well.
1. Declutter and Clean Thoroughly
Messy rooms seem small and unwelcoming. Clear out personal items, extra furniture, and unneeded decor to set a calm tone. Clean floors, windows, and surfaces to leave a fresh look.
2. Stage the Space Strategically
Arrange furniture and decor so that the room shows its best. Use simple colors and neat decorations for a friendly look. You can add fresh flowers, soft cushions, and bright lamps to bring warmth.
3. Optimize Lighting
Good light is key in property photography. Open curtains and blinds to bring in sunlight. Stay clear of strong noon light that casts hard shadows. Use gentle indoor lights if you need to lift dark spots.
Essential Real Estate Photography Techniques
Taking the right photos needs a bit of skill. Try these simple tips:
1. Use a Wide-Angle Lens
A wide-angle lens (14mm to 24mm on a full-frame) fits more of the room in one picture. This shows the space better. Do not use too wide an angle that may warp the view.
2. Shoot at Eye Level
Take photos from about 5 feet (1.5 m) high. This angle looks natural, as if a person walked through. It keeps the view balanced without stretching the room.
3. Employ a Tripod for Stability
Use a tripod to keep the camera steady. It stops shake in low light and helps you line up shots and take longer pictures when required.
4. Keep Composition Clean and Simple
Keep your frame clear and simple. Place key items away from the center to balance the view. Make sure nothing distracts in the foreground.
5. Highlight Key Selling Features
Show off main aspects like gardens, top appliances, special design details, or great views. Smart angles can show these points well.
Post-Processing for Real Estate Photography
Editing helps fix small flaws and make photos more attractive.
Editing Tips:
• Change brightness, contrast, and colors to make photos look bright without faking them.
• Fix lens curves and straighten lines to keep a true look.
• Remove stray objects or marks with retouch tools.
• Sharpen images a bit to improve clarity.
Adobe Lightroom and Photoshop are common choices. You can also try easy tools like Canva or Snapseed for good results.
Tips for Outdoor Real Estate Photography
Outside shots matter too, as they set the first feel.
• Click photos during the golden hour (right after sunrise or before sunset) to catch warm light.
• Show the front door, garden, and driveway.
• Take out cars or items that may distract.
• Use a deep focus to keep the entire view clear.
• Think about aerial or drone photos for big properties or special settings.

Creating an Effective Photo Shoot Checklist
Use this simple list to keep your shoot on track:
- Clear and clean every room
- Arrange every area neatly
- Open curtains and switch on lights
- Set your camera and tripod
- Set camera settings (ISO, aperture, shutter speed)
- Take photos from many angles in each room
- Take close-ups of special details
- Shoot outside shots in golden hour
- Check photos on site for quality
- Edit and fix photos
Frequently Asked Questions About Real Estate Photography
Q1: How important is real estate photography for selling a home?
A1: Real estate photography is key. Good photos pull in more buyers, boost online clicks, and can lead to a faster sale at a better price.
Q2: Can real estate photography be done with a smartphone?
A2: While smartphones now do a good job, top-quality cameras with wide-angle options and manual controls give better pictures. With good light and sound technique, phones can work for budget sellers.
Q3: How many photos should a real estate listing have?
A3: A well-made listing usually includes 20-30 clear photos covering each room, special details, and outside views to provide a full perspective.
Authoritative Resource for Further Reading
For more info, check out the National Association of Realtors guide on real estate photography. (source: NAR Real Estate Photography)
Conclusion: Boost Your Property Listings with Great House Photos
Good real estate photography changes how buyers see a home. With proper preparation, simple tips, and careful editing, your pictures will stand out. Your listings may draw more interest and attract higher bids.
If you want to improve your marketing, start using these property photo tips today. Think about hiring a photographer or buying good equipment and training yourself. A picture can speak many words—and in property sales, it may be worth thousands of dollars.
Boost your property listings effectively—capture the perfect shot and watch your sales soar!
https://findapropertyegypt.com/contact-us/

