Real Estate Photography Tips to Make Listings Sell Faster
Real estate photography is one of the most powerful (and underrated) tools for selling property quickly and at the best possible price. In an age where nearly every buyer starts their home search online, your photos are the “first showing.” If they don’t impress, the listing gets skipped in seconds—no matter how good the property is.
In this guide, you’ll learn practical, people-first real estate photography tips you can apply whether you’re a real estate agent, investor, or a homeowner trying to DIY. These strategies will help your listings stand out, attract more clicks, and convert more showings into offers.
Why Real Estate Photography Matters So Much
High-quality real estate photography doesn’t just make a listing look pretty—it directly affects:
- How many people click on your listing
- How long they stay on the page
- How many buyers schedule viewings
- Perceived value of the property
Studies consistently show that listings with professional-level photos get more online views and often sell faster and for more money than those with poor-quality or cell phone images (source: National Association of Realtors).
Think about the way you scroll through property portals: you look at the thumbnail, decide in a split second if it’s worth your time, then move on. Good photos open the door; bad photos keep buyers out.
Prepare the Property: The “Invisible” Step That Changes Everything
The best camera in the world can’t fix a messy, cluttered, or poorly staged space. Preparation is the foundation of great real estate photography.
Declutter and Depersonalize
You want buyers to imagine their lives in the home, not feel like they’re intruding into someone else’s.
Focus on:
- Clearing kitchen counters (no dish racks, random appliances, or fridge magnets)
- Removing personal photos, certificates, and kids’ artwork
- Minimizing decor (fewer, larger items instead of many small ones)
- Removing excess furniture that makes rooms look cramped
Clean Until It Shines
Dust, fingerprints, and streaks are all exaggerated in high-resolution real estate photography.
Pay extra attention to:
- Windows and mirrors
- Shower doors and bathroom fixtures
- Floors and baseboards
- Kitchen appliances
Stage for the Camera, Not Just for Living
What looks comfortable in real life can look cluttered or unbalanced in photos. Adjust for symmetry and visual flow:
- Center beds under windows if possible
- Align dining chairs neatly
- Arrange pillows and throws with clean, intentional lines
- Turn all blinds to the same angle, open curtains fully
Get the Right Gear (Without Overspending)
You don’t need the most expensive equipment, but certain tools will dramatically improve your real estate photography.
Camera and Lens
- DSLR or Mirrorless Camera: Allows manual control and high-quality images.
- Wide-Angle Lens: Essential. A focal length around 16–24mm (full-frame) or 10–18mm (APS-C) captures more of the room without distortion.
Avoid ultra-wide “fisheye” lenses that warp walls; buyers feel misled when they see the home in person.
Tripod
A sturdy tripod is non-negotiable:
- Keeps images sharp in low light
- Ensures consistent framing and straight lines
- Lets you bracket exposures for HDR (more on that later)
Optional but Helpful
- External flash or speedlight (for advanced users)
- Remote shutter or camera app (to avoid camera shake)
- Bubble level (or use your camera’s built-in level)
If you’re not ready to invest in gear, consider hiring a professional real estate photographer for key listings—especially high-value or competitive ones.
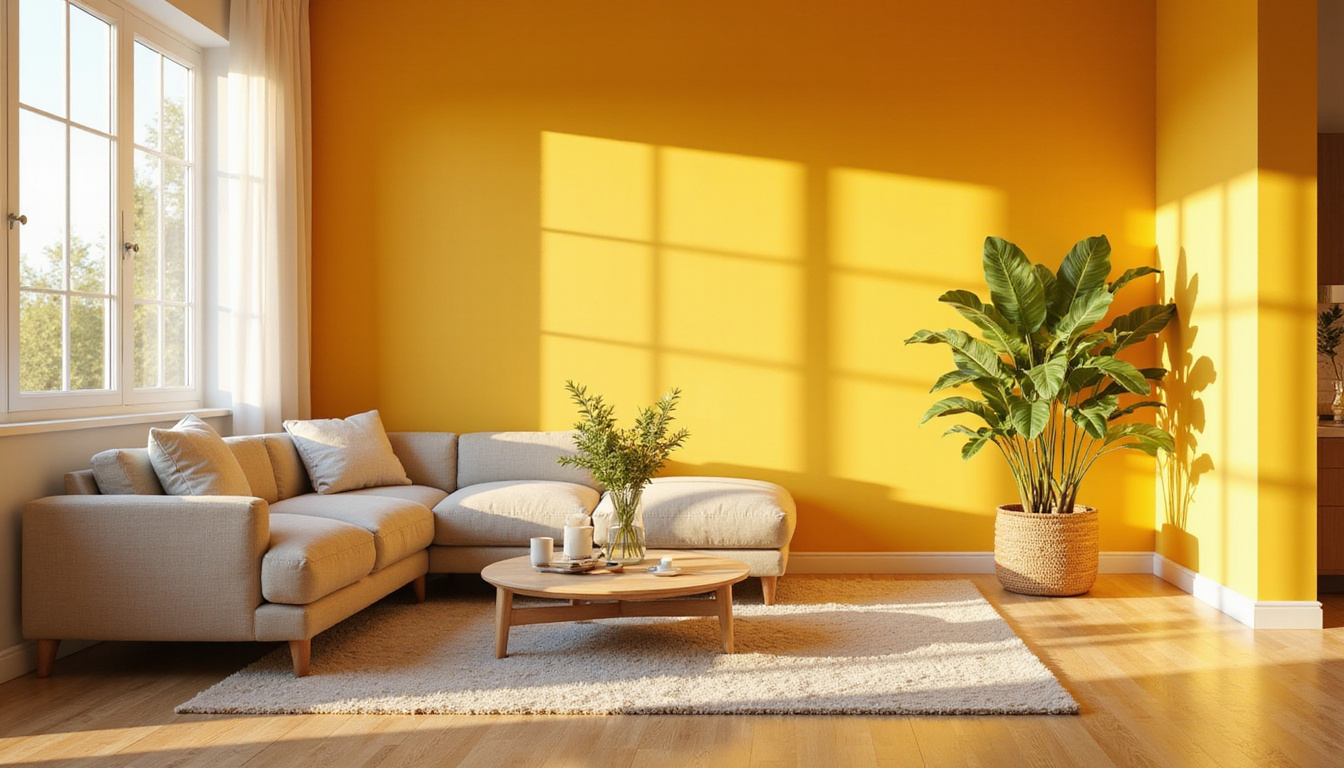
Master the Lighting: Natural Light Is Your Best Friend
Lighting is where many DIY real estate photography attempts go wrong. Dark, yellow, or mixed-light rooms feel small and uninviting.
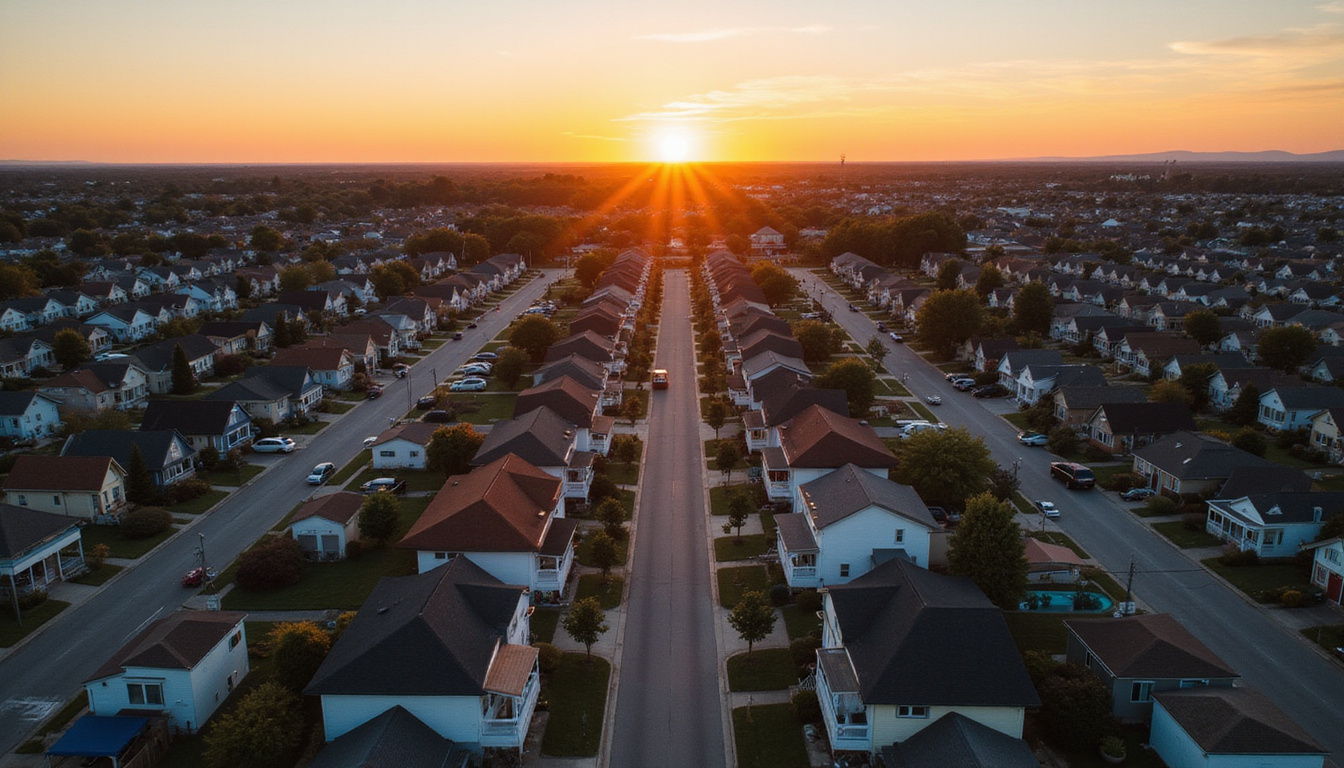
Shoot at the Right Time of Day
- Interiors: Late morning or early afternoon often gives soft, even light.
- Exteriors: Early morning or late afternoon (“golden hour”) provides flattering shadows and warm tones.
Avoid harsh midday sunlight when possible, especially on south-facing facades in sunny regions.
Use Natural Light Wisely
- Open curtains and blinds to let in light, but watch for harsh direct sun that causes blown-out highlights.
- Turn off some interior lights if they create mixed color temperatures (yellow tungsten vs. blue daylight). A consistent color is more important than having every single light on.
Consider HDR Bracketing
High Dynamic Range (HDR) is especially useful in real estate photography where you have bright windows and darker interiors:
- Take multiple exposures: one normal, one underexposed (for window detail), one overexposed (for shadows).
- Combine them in editing software to create a balanced image.
Avoid overcooked HDR that looks unnatural. Aim for realism.
Composition: Show the Space, Not the Stuff
Real estate photography is about helping buyers understand layout, space, and flow—not just documenting furniture.
Choose the Right Angles
- Shoot from the corners to capture as much of the room as possible.
- Use two walls in your composition rather than shooting straight into a single wall; this gives depth and dimension.
- For smaller rooms (like bathrooms), stand as far back as you can and use a wide angle carefully.
Keep Vertical Lines Vertical
Leaning walls and tilted door frames are one of the quickest giveaways of amateur real estate photography.
- Keep the camera level—avoid tilting it up or down.
- Correct any remaining distortion in post-processing using lens correction tools.
Ideal Camera Height
- Around 4 to 5 feet (1.2–1.5m) works for most rooms.
- Lower for kitchens and bathrooms to avoid too much ceiling.
- Slightly higher for larger, open-plan living areas if needed, but keep it natural.
Create a Logical Photo Story for Every Listing
Think of your listing photos as a walkthrough narrative.
Start With Strong “Hero” Shots
Your first 3–5 images are critical:
- Front exterior (clean, well-framed, and inviting)
- Main living area
- Kitchen
- Primary bedroom
- Best additional feature (view, garden, pool, or unique design)
These are usually what appear as thumbnails on listing portals, so make them count.
Show Flow and Layout
Help buyers visualize how the home connects:
- Take consistent angles in each room (e.g., from doorway looking in).
- Include some transition shots: hallway leading to bedrooms, open-plan living/dining, kitchen to terrace, etc.
- Avoid random, isolated photos that feel disjointed.
Include the Right Number of Photos
More isn’t always better. Aim for:
- Small condos/apartments: ~15–20 well-chosen photos
- Larger homes: ~20–35 photos
Show every major space, but don’t upload near-duplicate shots from slightly different angles.
Pay Attention to the Little Details
Small mistakes in real estate photography can distract buyers and cheapen the impression of the property.
Before you click:
- Hide trash cans, cleaning supplies, and toiletries
- Close toilet lids
- Straighten rugs and bedspreads
- Tuck away visible wires and chargers
- Turn off TVs and computer screens
- Align chair backs and bar stools
These micro-adjustments make a big macro difference.
Edit Smartly: Enhance, Don’t Mislead
Post-processing is now a standard part of professional real estate photography. The goal is accuracy and appeal, not deception.
Basic Adjustments to Make
- Straighten and crop so lines are level
- Correct lens distortion
- Adjust white balance for natural colors
- Lightly boost exposure and contrast
- Enhance clarity and sharpness without overdoing it
What Not to Do
- Don’t remove permanent defects (cracks, stains, power lines).
- Don’t massively alter room size or proportions.
- Avoid oversaturation—grass should be green, not neon.
Misleading edits can lead to buyer disappointment and damage your reputation.
Mobile Real Estate Photography: Making the Most of Your Phone
If you must use a smartphone:
- Use the wide-angle lens, but not the ultra-wide if it warps the room.
- Turn on the grid to keep lines straight.
- Use HDR mode for backlit rooms.
- Always shoot horizontally; vertical shots are less useful for most listing platforms.
- Consider phone-based lens correction apps and light editing tools like Lightroom Mobile or Snapseed.
For critical listings, though, professional equipment or a hired photographer almost always pays off.
Video and Virtual Tours: Leveling Up Your Listing
Buyers increasingly expect more than static photos. Adding video or a simple walk-through can set your listing apart.
A useful resource for understanding how buyers perceive living spaces and lifestyle in a new market is this video:
Things I Wish I Knew Before Moving to Egypt – My Honest Experience
While it focuses on moving to Egypt, the principles about expectations, lifestyle, and environment overlap with what buyers want to feel from great visuals in any market: clarity, realism, and trust.
Even a basic, stabilized phone walk-through—shot slowly and steadily—can complement your real estate photography and help serious buyers pre-qualify themselves before a visit.
Simple Checklist for Every Real Estate Photo Shoot
Before, during, and after your session, use this quick checklist:
-
Preparation
- Property cleaned, decluttered, and staged
- Lights checked and bulbs replaced
- Curtains/blinds adjusted for best natural light
-
Gear
- Camera battery charged, spare card ready
- Wide-angle lens attached
- Tripod packed and level confirmed
-
Shooting
- Start with exteriors (front, then back)
- Capture main rooms from 2–3 strategic angles
- Use consistent height and level framing
- Take bracketed exposures in tricky lighting
-
Editing
- Straighten, crop, and correct distortion
- Match white balance across photos
- Export at web-optimized size and resolution
FAQ: Real Estate Photography Questions Answered
How many photos should I include in a real estate listing?
For most properties, 15–35 high-quality real estate photos are ideal. Show every major space and key feature, but avoid posting repetitive angles that add no value.
Can I do real estate photography myself or should I hire a professional?
You can do it yourself if you have a decent camera, a tripod, and you follow best practices. However, for luxury homes, unique properties, or highly competitive markets, a professional real estate photographer is usually a smart investment that pays off in faster sales and stronger offers.
What’s the best time of day for real estate property photography?
Late morning or early afternoon typically works best for interiors, while early morning or late afternoon (golden hour) is ideal for exteriors. The goal is even, soft light that’s flattering and consistent throughout your real estate photography session.
Turn Better Photos into Faster Sales
Strong real estate photography doesn’t just decorate your listings—it drives them. When you:
- Prepare and stage a property intentionally
- Use proper gear and respect natural light
- Compose images to reveal layout and flow
- Edit for clarity and realism
…you create a visual story that makes buyers want to see more—and act quickly when they do.
If you’re serious about selling faster and standing out in crowded online marketplaces, upgrade your approach to real estate photography now. Whether that means refining your own skills or partnering with a dedicated property photographer, the improvement in clicks, showings, and offers can be dramatic. Start applying these tips to your next listing and turn your photos into one of your most powerful selling tools.